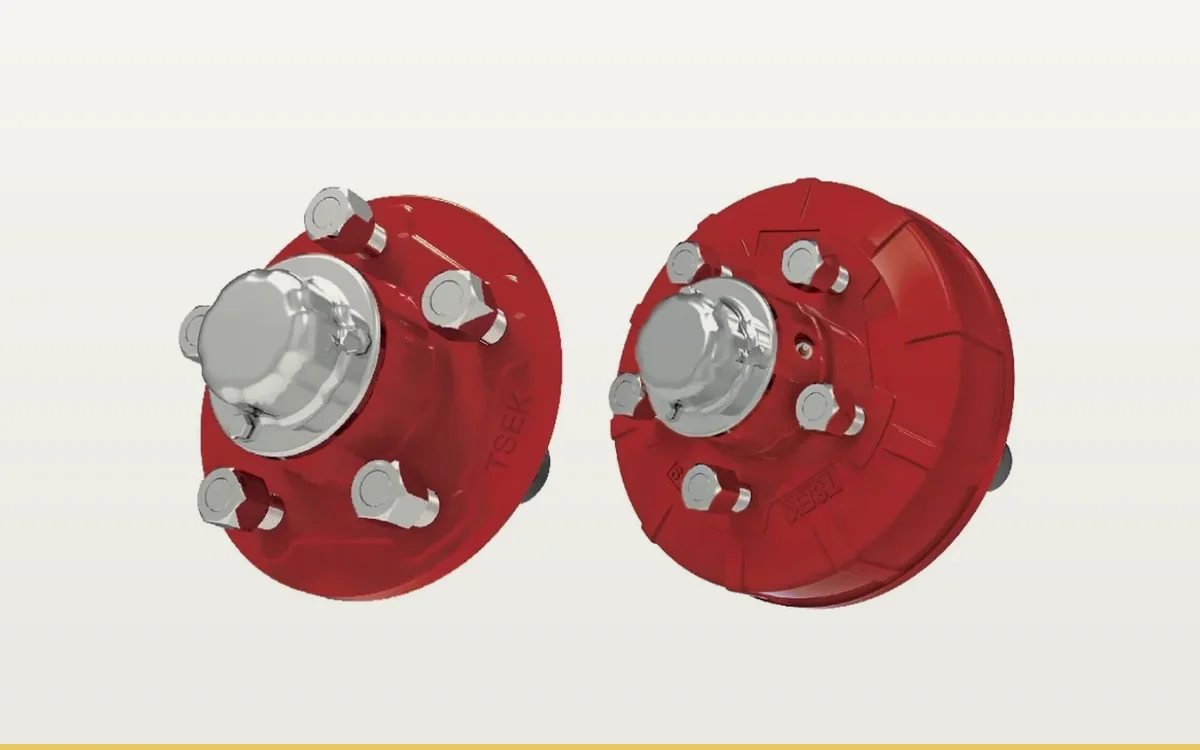
The hub is the most neglected part of a trailer. From the outside it looks like a casting with a few studs and a dust cap. Inside there are two tapered roller bearings, grease, a seal and a castle nut holding everything in place. When hub maintenance is skipped, the first sign is usually a humming noise or a hub that runs hot. By that point the bearing is often already damaged.
This article splits hub and bearing care into checks the owner can do and work that is better left to a workshop. We give dimensions for the hubs we make; if you use another brand, follow that manufacturer's figures.
A standard trailer hub has two tapered roller bearings, an inner and an outer one. The inner bearing sits on the axle side and is usually the larger of the two; the outer bearing sits behind the dust cap. On our 10/12 hub, for example, the bearing pair is 32210 and 32212; on the 7/9 hub it is 30207 and 30209. Behind the inner bearing a seal keeps grease in and dirt and water out. The castle nut holds the outer bearing and is locked with a split pin through the end of the axle spindle.
The bearing number is the most important piece of information. When replacing a bearing, read the number on the old one or look up the hub in the catalog. A bearing chosen because it "looks the same size" may have the right bore but a different width or taper angle, and it will soon run hot.
There is no single interval for everyone; it depends on how the trailer is used. As a rough guide:
Park the trailer on level ground, chock the other wheels and lift the side you are checking with a jack or a stand. Never get under a trailer that is resting only on a jack.
Start with play. Hold the wheel at 12 and 6 o'clock and rock it in and out. A very small amount of movement is normal. A clear knock, or a wheel that visibly tilts, means the bearing adjustment has come loose or the bearing is worn.
Then spin the wheel by hand and listen. It should turn smoothly and quietly. Grinding, catching or a gritty feel means the bearing surfaces are damaged. On braked hubs a lightly rubbing lining can make a normal noise, so make sure the brake is fully released while you listen.
After a trip, check the temperature of the hub. Touched with the back of your hand it should feel warm. If it is too hot to keep your hand on, or one side is noticeably hotter than the others, the bearing or the brake on that side needs checking.
Finally, look for grease. Grease on the inside of the rim or on the tyre sidewall means the seal is no longer doing its job. On braked hubs leaking grease reaches the linings and weakens the brake. Replace the seal straight away rather than waiting for the next service.
Taking a hub off and regreasing it is not difficult for someone with tools, but a wrong adjustment ruins a bearing quickly. Roughly, the order is: remove the dust cap, pull the split pin, loosen the castle nut and take the hub off the spindle. Clean out the old grease. With the bearings clean, check the rollers and races for scoring, blue heat marks or flaking. If you find any of these, replace the bearing together with its outer race pressed into the hub. Running a new bearing on an old race is a short-lived repair.
Pack the bearings by hand or with a bearing packer until the spaces between the rollers are full. Put some grease inside the hub too, but there is no need to fill it to the brim; excess grease heats up and gets pushed out past the seal. A high-temperature lithium-based bearing grease is the usual choice for this job.
To adjust, tighten the castle nut while turning the hub by hand so the bearings seat. Then back the nut off slightly and leave it at the first position where the split pin hole lines up. The aim is to remove play without crushing the bearing. If the nut does not line up with the hole, align it by backing off, not by tightening further. Fit a new split pin every time.
Wheel nuts are often forgotten during hub work. After a wheel has been refitted, tighten the nuts in a crosswise pattern and check them again after the first 50–100 km. The rim and hub faces bed in during this time and the nuts can lose some tension. Stud size depends on the hub; our hubs use three sizes, M12x1.25, 5/8" and 3/4". You will need this size when buying spare nuts or studs.
Keep the nozzle of a pressure washer away from the hub seal and the dust cap. High-pressure water can get past the seal lip into the bearing. Nothing shows from the outside, but within a few weeks the grease turns watery and the bearing starts to rust. A short drive after washing lets the hub warm up and drive off some of the moisture. This matters even more on salted roads and on trailers that carry fertiliser, since salt and fertiliser corrode metal quickly.
If a dust cap is lost or dented, fit a new one straight away. A hub without a cap soon takes in dust and water, and the outer bearing is the first part to fail.
If the bearing race has come loose in the hub, the hub body is cracked or the stud threads are stripped, replace the hub rather than trying to repair it. Assembled hubs come with bearings, seal and studs fitted. If you know the spindle diameter, the stud size and the number of studs, choosing the right hub is straightforward. If none of this is marked on the hub or the axle, you can measure the spindle diameter with a caliper.
The spindle diameter, bearing numbers, stud size and load capacity of our assembled hubs are listed on the product pages and in our catalog. If you are not sure which hub you have, send us a photo and the spindle diameter you measured, and we will find the right one together.
 TR
TR
 EN
EN
 RU
RU